Booting
Since this post marks the start of my blog, there’s nothing more fitting than to talk about booting. Booting is the process in which computers initialize and start an operating system. It’s a dance between hardware and software, so the details can vary between computers. I am going to focus, particularly, on one way an x86 machine boots a Linux based OS using UEFI-compliant firmware. After the explanation, I’ll put it to practice by going through a Gentoo Linux installation following the Gentoo x86 handbook.
The Theory
Booting, bootstrapping, or “to pull oneself up by one’s bootstrap” gets to the spirit of the process. An initial program on the computer loads the OS which in turn continues loading more of itself onto main memory.
The initial program or firmware resides in non-volatile memory separate from main memory and secondary memory. When the machine is powered on, the CPU starts executing this firmware. It initializes hardware it needs to bootstrap OS code. There’s a lot of technical details to unpack in that alone, but what is worth focusing on is how the CPU running firmware code can start reading OS code from secondary memory. They both need an already agreed-upon standard and format.
One such standard is the Unified Extensible Firmware Interface or UEFI. It can support running an executable from secondary memory where the storage device has a GUID Partition Table and the executable is located on a FAT32 partition. In this case, the executable is the kernel for the OS. This process, where a UEFI-compliant firmware loads the kernel without the use of an intermediary program or bootloader, is called EFIStub booting.
Sometimes, the kernel needs more utilities than what it has built-in in order to continue reading in more OS code. If secondary memory is encrypted or uses a higher layer of abstraction on top of partitions, then the kernel will need a sort of early userspace where there are tools to deal with it. One specific implementation of this is called an initramfs.
In an initramfs, there is an init program whose job is to mount the root file
system and to pass off control to an init program on secondary memory. This
second init is responsible for running scripts that begin on startup. This
includes configuring network devices, mounting storage devices, and other
services or daemons that need to start on every boot.
There’s a LOT of details omitted here. Some of them are in hardware/firmware, where the average programmer and sysadmin don’t have much in the way of affecting it. Some of them are in software, where a highly motivated individual could influence. But with just this incomplete understanding of the boot process, you’ll be able to intelligently follow along on how to install Gentoo Linux.
Preliminaries
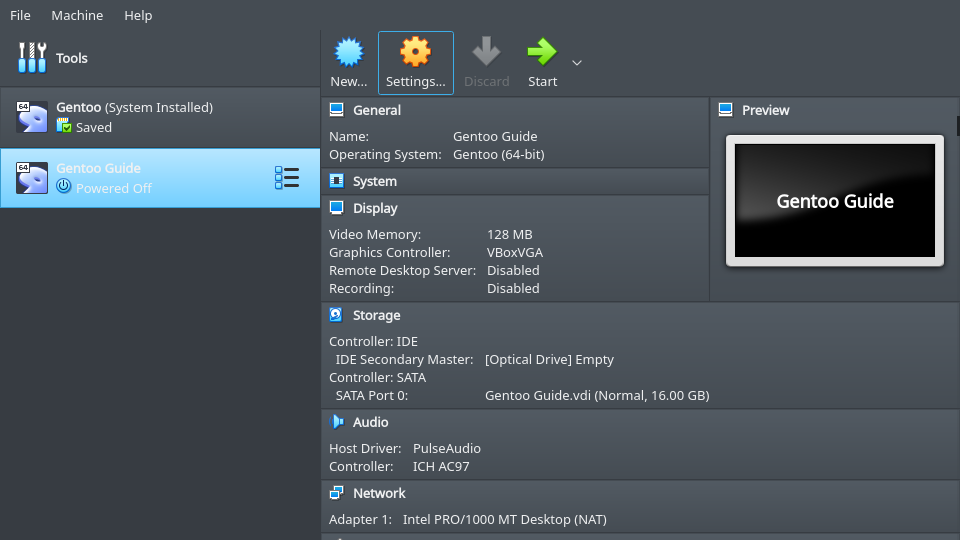
Download Virtualbox and create a VM running the minimal install CD for Gentoo. There are a few important settings to enable.
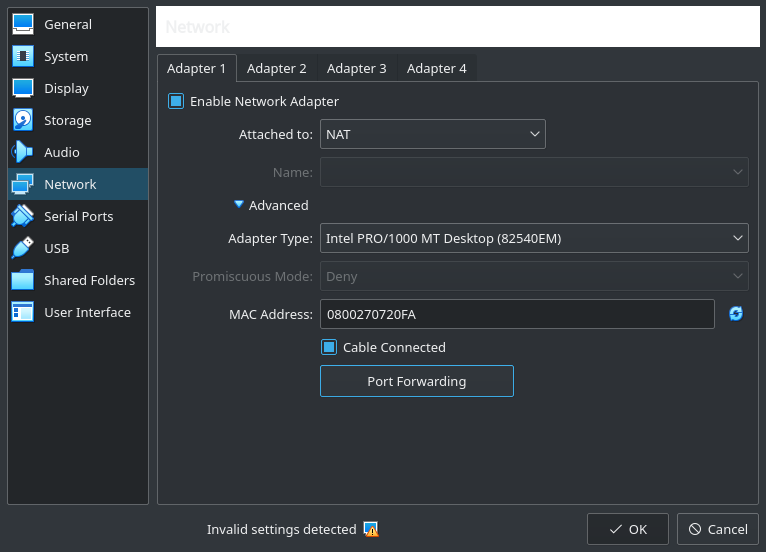
First, create a port forward between the guest’s port 22 and the host’s 2222 so that copying and pasting is possible on a host’s terminal. Otherwise, you’ll be forced to use a clunkier terminal in the guest through Virtualbox.

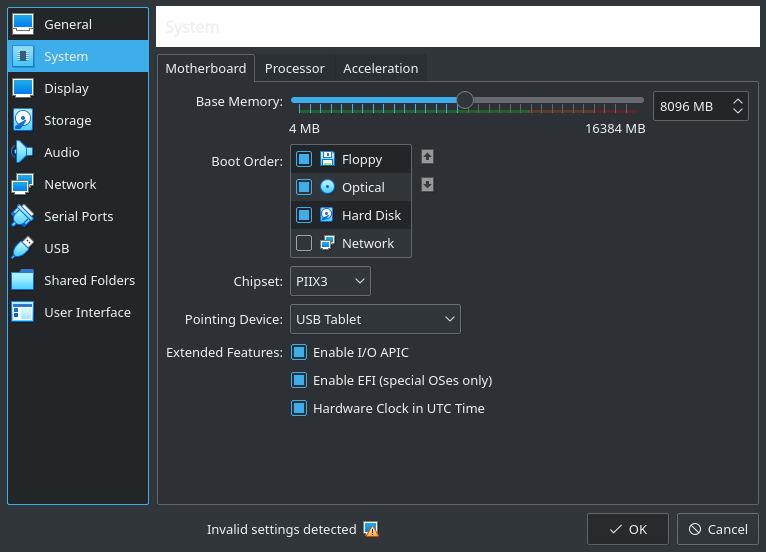
Secondly, make sure that the VM is booting in EFI mode.
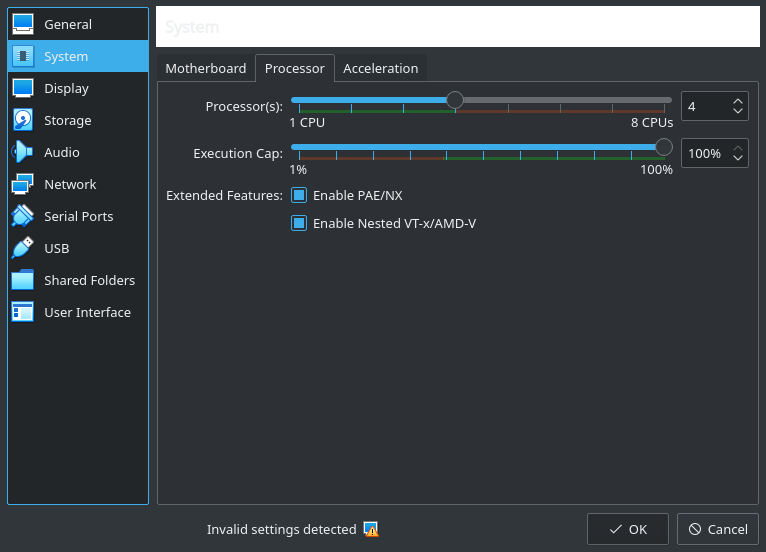
Lastly, enable the VM to utilize multiple vCPUs to speed up code compilation.
In the guest, set a password for the root user and start the ssh server.
$ passwd
$ /etc/init.d/sshd start
On a terminal in the host, you can ssh into the VM and continue to manipulate
it here.
$ ssh -lroot -p2222 127.0.0.1
Drive Partitioning
Create a GPT on the drive. GPT is the table of contents that shows how the
storage device is laid out in terms of partitions and contains metadata like
attribute flags for those partitions. Make sure you are using the right device
with lsblk and then use parted to create the partition table (in my case I
wanted to use sda).
$ lsblk
NAME  MAJ:MIN RM   SIZE RO TYPE MOUNTPOINT
loop0   7:0    0 387.1M  1 loop /mnt/livecd
sda     8:0    0    16G  0 disk
sr0    11:0    1   423M  0 rom  /mnt/cdrom
$ parted -a optimal /dev/sda
(parted) unit mib
(parted) mklabel gpt
Create a partition for the kernel and set the boot and esp flags. The flags
are a guide for the firmware to look for an executable there.
(parted) mkpart primary 1 1025
(parted) name 1 "EFI System Partition"
(parted) set 1 esp on
(parted) set 1 boot on
The last partition can take up the rest of the drive for the root filesystem
and swap space. The lvm flag is set so it can be logically subdivided using
the Logical Volume Manager (more on that later).
(parted) mkpart primary 1025 -1
(parted) name 2 lvm
(parted) set 2 lvm on
In the end, the partition scheme should look something like this.
(parted) print
Model: ATA VBOX HARDDISK (scsi)
Disk /dev/sda: 16384MiB
Sector size (logical/physical): 512B/512B
Partition Table: gpt
Disk Flags:

Number  Start    End       Size      File system  Name                  Flags
1      1.00MiB  1025MiB   1024MiB                EFI System Partition  boot, esp
2      1025MiB  16383MiB  15358MiB               lvm                   lvm

(parted) quit
Information: You may need to update /etc/fstab.
As expected, this creates partitions sda1 and sda2 on the sda device.
$ lsblk
NAME   MAJ:MIN RM   SIZE RO TYPE MOUNTPOINT
loop0    7:0    0 387.1M  1 loop /mnt/livecd
sda      8:0    0    16G  0 disk
├─sda1   8:1    0     1G  0 part
└─sda2   8:2    0    15G  0 part
sr0     11:0    1   423M  0 rom  /mnt/cdrom
Since UEFI-compliant firmware expects a FAT32 filesystem, create one on
/dev/sda1.
$ mkfs.vfat -F32 /dev/sda1
mkfs.fat 4.1 (2017-01-24)
LVM on LUKS
Running Logical Volume Manager (LVM) on a Linux Unified Key Setup (LUKS) partition is a common practice. With LUKS, data can be encrypted at rest.
The first command creates a partition encrypted with the aes-xts-plain64
cipher, uses sha512 to hash the passphrase, and sets the encryption key size to
512 bits. The second command decrypts the partition and maps it as a block
device called lvm under /dev/mapper.
$ cryptsetup luksFormat -c aes-xts-plain64 -h sha512 -s 512 /dev/sda2
$ cryptsetup luksOpen /dev/sda2 lvm
Now LVM has a lot of features as opposed to regular ol’ partitions, but the main concepts to know are:
- Physical volumes, like a disk or its partitions, make up a volume group (VG).
- Volume groups are made up of logical volumes (LV).
- Logical volumes can more or less be treated as regular partitions.
Register the lvm block device as a physical volume, create volume group
vg0 with lvm as its underlying physical volume, and create two logical
volumes for the root filesystem and swap space.
$ lvm pvcreate /dev/mapper/lvm
$ vgcreate vg0 /dev/mapper/lvm
$ lvcreate -L 1G -n swap vg0
$ lvcreate -l 100%FREE -n root vg0
And just like with /dev/sda1, create a filesystem on top of each LV. Make the
swap LV a swap space and create an ext4 filesystem for the root LV. One
thing to note, is that you can access these new LV’s under:
/dev/mapper/<name of vg>-<name of lv>.
$ ls -l /dev/mapper
total 0
crw------- 1 root root 10, 236 Nov 16 08:16 control
lrwxrwxrwx 1 root root       7 Nov 17 03:08 lvm -> ../dm-0
lrwxrwxrwx 1 root root       7 Nov 17 03:08 vg0-root -> ../dm-2
lrwxrwxrwx 1 root root       7 Nov 17 03:08 vg0-swap -> ../dm-1
$ mkswap /dev/mapper/vg0-swap
$ mkfs.ext4 /dev/mapper/vg0-root
Stage 3
So far you’ve gone through the process of formatting secondary memory, but now you need to make the actual kernel. Herein lies the rub, you need tools like a C compiler to build the kernel, but to get the tools you need to build them using an OS. To solve this chicken-and-egg conundrum you can download the tools precompiled for the amd64 microarchitecture. The Gentoo community puts these tools in a stage 3 tarball (it’s actually the entire OS sans kernel).
Mount the root LV and cd into it.
$ mount /dev/mapper/vg0-root /mnt/gentoo
$ cd /mnt/gentoo
It is important to set the correct date and time on the system so files that get downloaded have the correct time attributes.
$ ntpd -g -q
Fire up links, a command-line terminal, to download the stage 3
tarball.
$ links https://www.gentoo.org/downloads/mirrors/
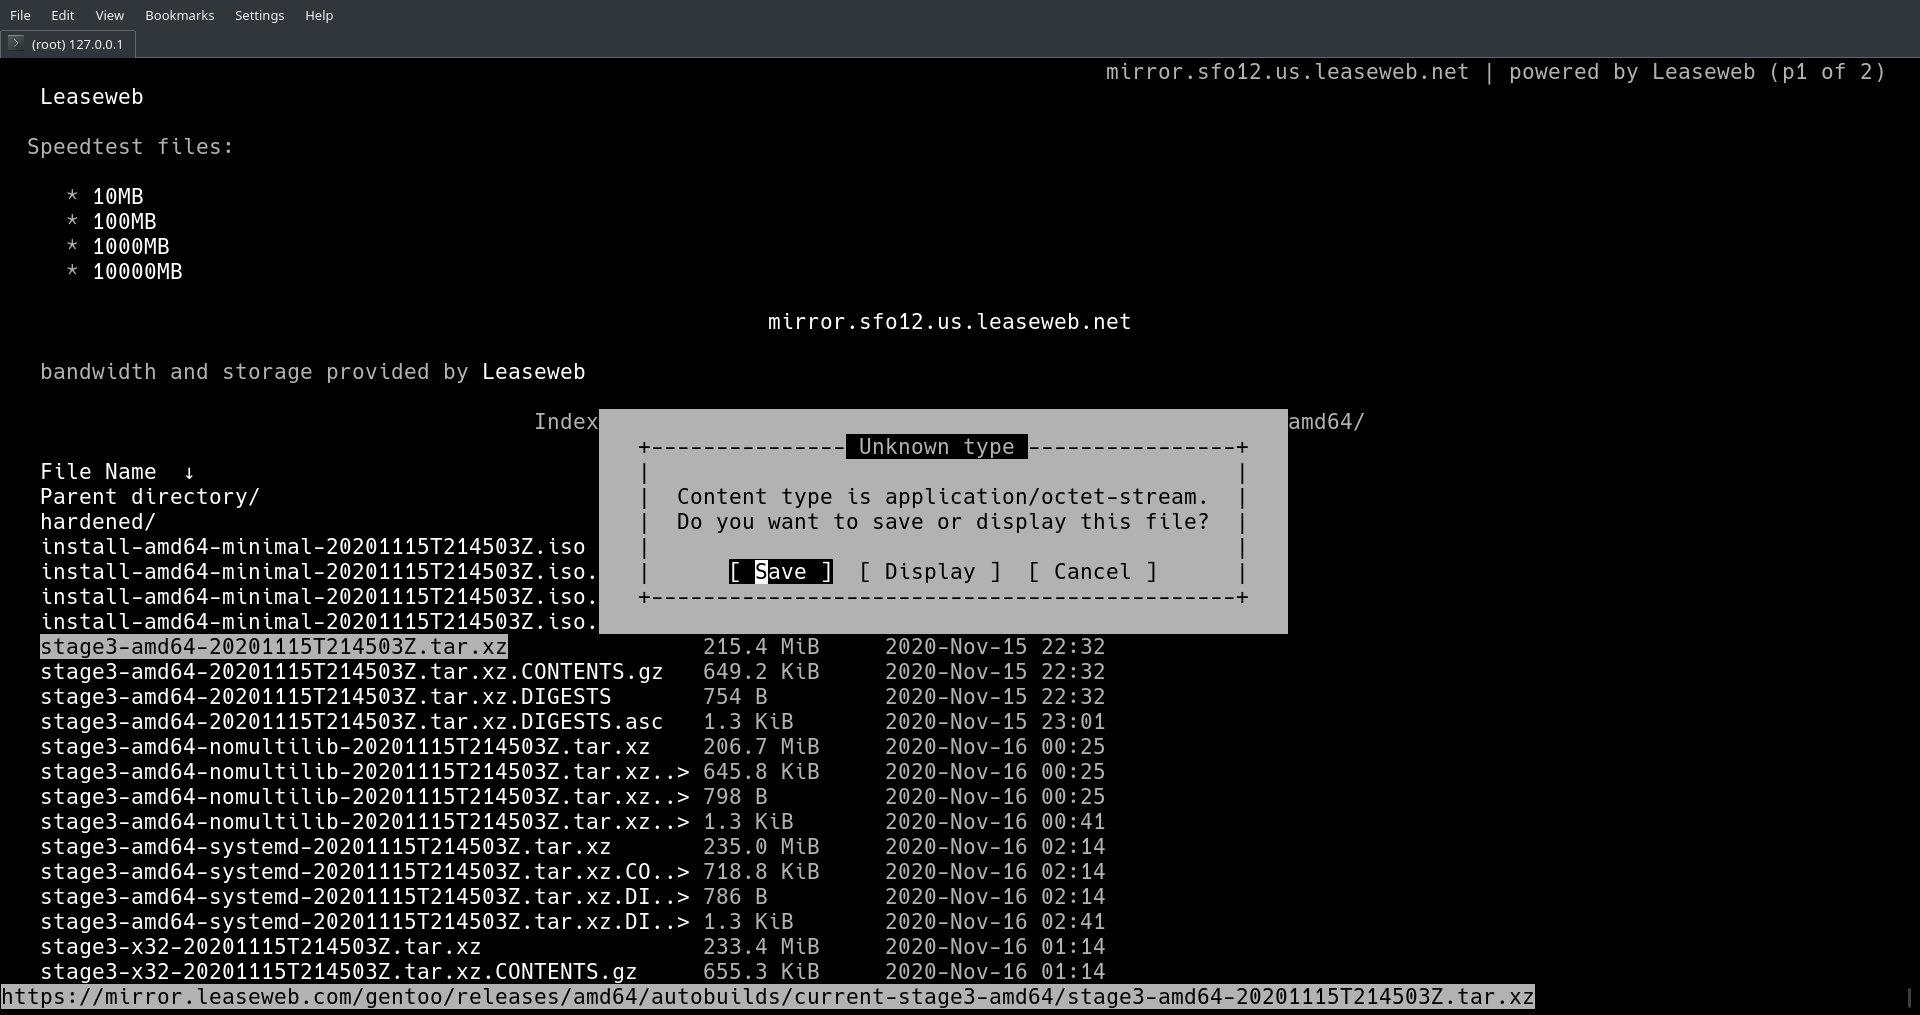
First-timers will find it weird using a command-line web browser. Naturally, the up/down arrows traverse the links and the enter button selects the highlighted link.
Choose one of the mirrors and traverse the directory structure: releases -> amd64 -> autobuilds -> current-stage3-amd64.
As of this writing, download stage3-amd64-20201115T214503Z.tar.xz.
Note, it’s important to verify the integrity of the download. To do that
requires the corresponding digest file, Gentoo’s Release Engineering key,
sha512sum, and gpg. Going over it is a bit of a chore, so it’s left as an
exercise to the reader.
Decompress the tarball. The screen should scroll with the names of the files being extracted.
$ tar xpvf stage3-*.tar.xz --xattrs-include='*.*' --numeric-owner
Edit some of setting in Portage, Gentoo’s source package manager, to make code compilation or the packages itself run faster.
$ nano -w /mnt/gentoo/etc/portage/make.conf
For a CPU like this,
$ lscpu | egrep "(Architecture|CPU(s):|Model\ name)"
Architecture:                    x86_64
CPU(s):                          4
Model name:                      Intel(R) Core(TM) i7-8650U CPU @ 1.90GHz
these lines are basic optimizations.
MAKEOPTS="-j5"
COMMON_FLAGS="-O2 -pipe -march=native"
Configure Portage to use specific mirrors to make downloading source code for packages faster.
$ mirrorselect -i -o >> /mnt/gentoo/etc/portage/make.conf
Which appends a line like this to make.conf.
GENTOO_MIRRORS="https://gentoo.osuosl.org/ https://mirrors.rit.edu/gentoo/"
Copy the default configuration for the Gentoo ebuild repository to the correct location.
$ mkdir --parents /mnt/gentoo/etc/portage/repos.conf
$ cp /mnt/gentoo/usr/share/portage/config/repos.conf /mnt/gentoo/etc/portage/repos.conf/gentoo.conf
DNS information should be copied so when you chroot into the root directory later, networking remains functional.
$ cp --dereference /etc/resolv.conf /mnt/gentoo/etc/
So far you have been running the OS off of the live cd in primary memory, but
when you run the later commands in this article, you need the changes to affect
secondary memory. To do that, you can remount pseudo-filesystems: /dev,
/, etc. to secondary memory.
$ mount --types proc /proc /mnt/gentoo/proc
$ mount --rbind /sys /mnt/gentoo/sys
$ mount --make-rslave /mnt/gentoo/sys
$ mount --rbind /dev /mnt/gentoo/dev
$ mount --make-rslave /mnt/gentoo/dev
$ chroot /mnt/gentoo /bin/bash
Reload the shell profile and change the shell prompt to remind yourself that you are not still in the loop device.
$ source /etc/profile
$ export PS1="(chroot) ${PS1}"
Install the snapshot of the aforementioned Gentoo ebuild repository. The repo
also has the concept of profiles to figure out which packages are candidates
for installation. Choose the default/linux/amd64/17.1 (stable) profile.
$ emerge-webrsync
$ eselect profile list
Available profile symlink targets:
  [1]   default/linux/amd64/17.1 (stable) *
...
Even though it can take a while, update the world set packages in case there are any differences between packages in the stage 3 tarball you downloaded and the profile you selected (I wouldn’t think there would be any, but the Gentoo install guide says it’s necessary).
$ emerge --ask --verbose --update --deep --newuse @world
Next, the time zone has to be set in /etc/timezone. The available time zones
are in /usr/share/zoneinfo as directories and files. For somebody living in
SF, America/Los_Angeles might be an appropriate one.
$ ls -lh --file-type /usr/share/zoneinfo | grep America
drwxr-xr-x  6 root root 4.0K Nov 15 14:09 America/
$ ls -lh --file-type /usr/share/zoneinfo/America | grep Los_Angeles
-rw-r--r--  2 root root 2.8K May 11  2020 Los_Angeles
$ echo "America/Los_Angeles" > /etc/timezone
Reconfigure timezone-data to use the new time zone.
$ emerge --config sys-libs/timezone-data
Edit the locale.gen file to enable different locales (local languages).
$ nano -w /etc/locale.gen
US English UTF-8 or ISO-8859-1 is going to be used in this exercise.
en_US ISO-8859-1
en_US.UTF-8 UTF-8
Now run the following to actually apply the changes.
$ locale-gen
$ eselect locale list
Available targets for the LANG variable:
  [1]   C
  [2]   C.utf8
  [3]   POSIX
  [4]   en\_US
  [5]   en\_US.iso88591
  [6]   en\_US.utf8
  [7]   C.UTF8 *
  [ ]   (free form)
$ eselect locale set en_US.utf8
$ env-update && source /etc/profile && export PS1="(chroot) ${PS1}"
The Kernel
With the base system installed and configured, the next thing to move onto is
the kernel. Run emerge below to download the source code to
/usr/src/linux.
$ emerge --ask sys-kernel/gentoo-sources
$ cd /usr/src/linux
The kernel is not ready to be compiled just yet. There are a few options to configure first.
Support for LUKS
Run make menuconfig in /usr/src/linux to set these options. The options are
shown as it appears in the ncurses UI and also as the corresponding variable
of .config (gets created when you save in make menuconfig) in brackets.
[*] Enable loadable module support [CONFIG_MODULES=y]
Device Drivers --->
    [*] Multiple devices driver support (RAID and LVM) --->  [CONFIG_MD=y]
        <*> Device mapper support  [CONFIG_BLK_DEV_DM=y]
        <*>   Crypt target support [CONFIG_DM_CRYPT=y]
[*] Cryptographic API ---> [CONFIG_CRYPTO=y]
    <*> XTS support        [CONFIG_CRYPTO_XTS=y]
    <*> SHA224 and SHA256 digest algorithm [CONFIG_CRYPTO_SHA256=y]
    <*> SHA384 and SHA512 digest algorithm [CONFIG_CRYPTO_SHA512=y]
    <*> AES cipher algorithms [CONFIG_CRYPTO_AES=y]
    <*> User-space interface for hash algorithms [CONFIG_CRYPTO_USER_API_HASH=y]
    <*> User-space interface for symmetric key cipher algorithms [CONFIG_CRYPTO_USER_API_SKCIPHER=y]
So even though the kernel has support for LUKS, userspace still needs utilities
too. Install dm-crypt and register the daemon with OpenRC so init knows to
start it on boot.
$ emerge --ask sys-fs/cryptsetup
$ rc-update add dmcrypt boot
Support for LVM
These are the options to enable LVM.
Device Drivers  --->
   <*> Multiple devices driver support (RAID and LVM) [CONFIG_MD=y]  --->
       <*> Device mapper support [CONFIG_BLK_DEV_DM=y]
           <*> Crypt target support [CONFIG_DM_CRYPT=y]
           <*> Snapshot target [CONFIG_DM_SNAPSHOT=y]
           <*> Mirror target [CONFIG_DM_MIRROR=y]
           <*> Multipath target [CONFIG_DM_MULTIPATH=y]
               <*> I/O Path Selector based on the number of in-flight I/Os [CONFIG_DM_MULTIPATH_QL=y]
               <*> I/O Path Selector based on the service time [CONFIG_DM_MULTIPATH_ST=y]
Also, install lvm2 to be able to manage LVM devices in userspace. Just as in
the case with dm-crypt, lvm2 should also start on boot.
$ emerge --ask sys-fs/lvm2
$ rc-update add lvm boot
Somewhat related, init needs the contents of /etc/fstab to mount the root
filesystem, swap space, and /boot. Run blkid to figure out the UUIDs of
the lv’s and partitions you made and open /etc/fstab.
$ blkid /dev/mapper/vg0-root
$ blkid /dev/mapper/vg0-swap
$ blkid /dev/sda1
$ nano /etc/fstab
/etc/fstab should have lines like this:
UUID="56071e45-962a-42d7-b3c3-c3291e3d860a" / ext4 defaults 0 0
UUID="ae2ce0cc-65b1-4f64-b414-87ee858e4169" none swap defaults 0 0
UUID="21E2-19B2" /boot vfat defaults 0 2
Support for Initramfs and EFIStub
As mentioned before, the kernel needs an initramfs to mount a root that is on
secondary memory with LUKS and LVM. To supply one to the kernel, use
genkernel.
$ emerge --ask sys-kernel/genkernel
$ genkernel --lvm --luks --no-install initramfs
This creates an initramfs file in /var/tmp/genkernel/. The file is a cpio
archive which needs to be moved to /usr/src/initramfs.cpio.
$ ls -lh /var/tmp/genkernel
total 34M
-rw-r--r-- 1 root root 34M Nov 20 22:42 initramfs-x86_64-5.4.72-gentoo
$ file /var/tmp/genkernel/initramfs-x86_64-5.4.72-gentoo
/var/tmp/genkernel/initramfs-x86_64-5.4.72-gentoo: ASCII cpio archive (SVR4 with no CRC)
$ mv /var/tmp/genkernel/initramfs-x86_64-5.4.72-gentoo /usr/src/initramfs.cpio
These options embed that cpio archive into the kernel during compilation.
 General setup  --->
    [*] Initial RAM filesystem and RAM disk (initramfs/initrd) support [CONFIG_BLK_DEV_INITRD=y]
    (/usr/src/initramfs.cpio) Initramfs source file(s)  [CONFIG_INITRAMFS_SOURCE=/usr/src/initramfs.cpio]
genkernel also makes an init that the kernel executes when it mounts the
initramfs. The init needs these variables in order to figure out how to mount
the real root filesystem; these options embed those variables into the kernel.
Refer to the RAMDISK/INITRAMFS OPTIONS section in the genkernel
manual for more information.
Processor type and features  --->
    [*] Built-in kernel command line [CONFIG_CMDLINE_BOOL=y]
    (dolvm crypt_root=UUID=95538771-2ba9-46bb-bb50-4b442ad2f880 root=/dev/mapper/vg0-root rootfstype=ext4) [CONFIG_CMDLINE]
It’s important to note that crypt_root is the UUID of /dev/sda2, the
underlying encrypted block device, not the LVM partition vg0-root.
$ blkid /dev/sda2
/dev/sda2: UUID="95538771-2ba9-46bb-bb50-4b442ad2f880" TYPE="crypto_LUKS" PARTLABEL="lvm" PARTUUID="8a847256-9505-4a66-a862-bfac8dc932b6"
These are the options needed for EFIStub booting.
Processor type and features  --->
    [*] EFI runtime service support  [CONFIG_EFI=y]
    [*]   EFI stub support [CONFIG_EFI_STUB=y]
Firmware Drivers  --->
   EFI (Extensible Firmware Interface) Support  --->
       <*> EFI Variable Support via sysfs [CONFIG_EFI_VARS=y]
Build Kernel, Move Kernel, Set Boot Order
Finally it is time to compile the kernel.
$ make && make modules_install
This creates a bzImage containing the kernel in
/usr/src/linux/arch/x86_64/boot/bzImage. Now the goal is to move this kernel
to the FAT32 partition so that the firmware can load it as an EFI executable.
Mount the partition under /boot, create some folders for the sake of
organization, and move the kernel.
$ mount /dev/sda1 /boot
$ mkdir -p /boot/EFI/Gentoo
$ mv arch/x86_64/boot/bzImage /boot/EFI/Gentoo/bzImage-5.4.72.efi
The firmware that loads this kernel maintains a boot order list. Use
efibootmgr to manipulate it. Install it and add an entry for the Gentoo
kernel.
$ emerge --ask sys-boot/efibootmgr
$ efibootmgr -c -L "Gentoo-5.4.72" -l '\EFI\Gentoo\bzImage-5.4.72.efi'
$ efibootmgr -v #Sanity check for the boot order.
Miscellanea and the Moment of Truth
At this point the installation is complete, but there are still a handful of things to configure:
- Set a password for
rootor make a new user, otherwise there is no user for you to log in as. - Install
dhcpcdso that networking continues working on reboot. Add it as a service that starts on boot. - Add the ssh server as a service that also starts on boot. Edit the config
to allow
rootlogin, if you haven’t added another user.
$ passwd root
$ emerge --ask net-misc/dhcpcd
$ rc-update add dhcpcd default
$ rc-update add sshd default
$ nano /etc/ssh/sshd_config
Make sure /etc/ssh/sshd_config has this line. I know it’s not a good security
posture to allow root logins through ssh, but this is just for testing.
PermitRootLogin yes
Leave the chroot and reboot.
$ exit
$ reboot
If everything goes smoothly, the VM will be able to boot the installed OS. Otherwise you’ll have to fix your install by booting the livecd and running that block of commands that mounts filesystems and running a chroot.
So there you go. Hopefully this pulls the cover off of the process of booting a little bit and now you’ll have a one-up on those annoying Arch Linux users.